
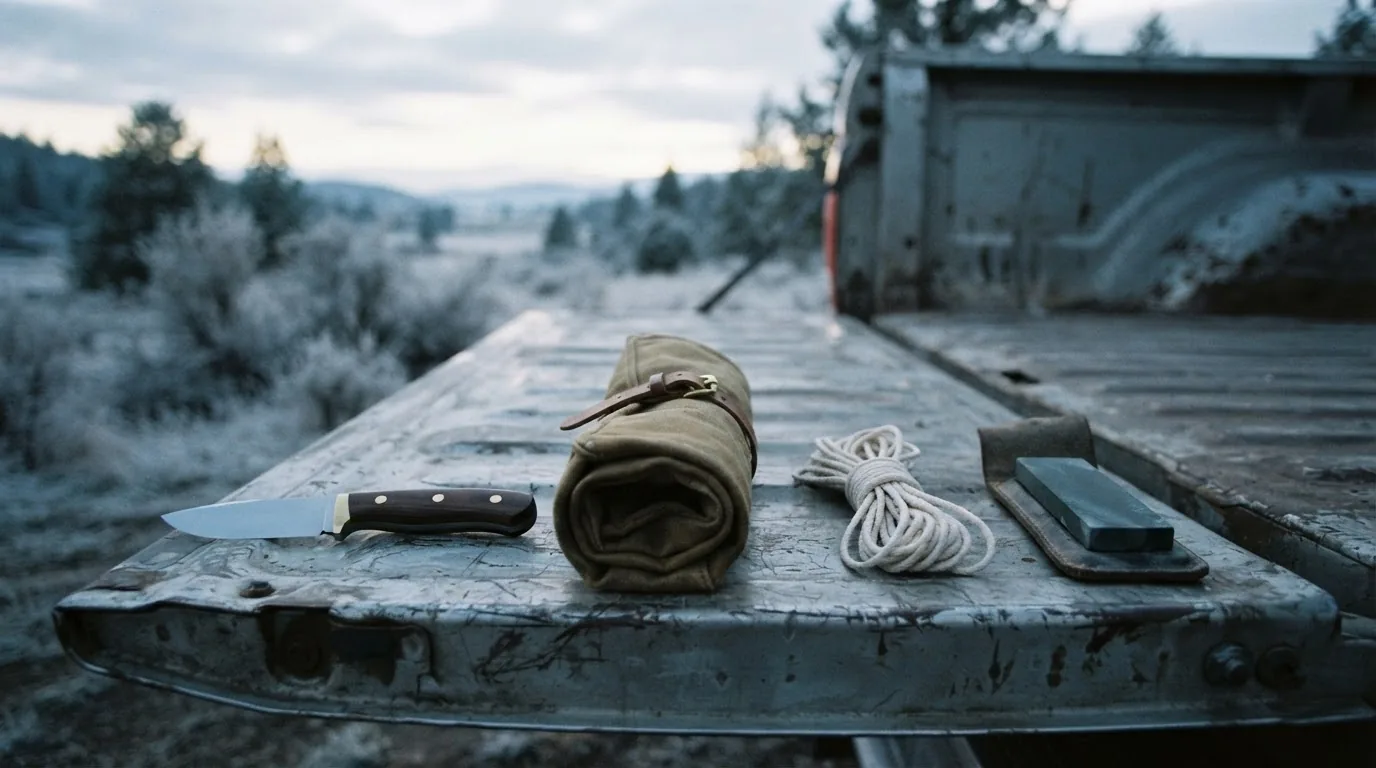
Short answer: field dressing a deer means removing the internal organs so the carcass can cool before the meat spoils. Tag the animal, put gloves on, lay it on its back with the head uphill, ring and tie off the anus, open the belly skin and abdominal wall along the midline without cutting the gut, cut the diaphragm free, sever the windpipe and esophagus high in the chest, roll everything out, drain, wipe the cavity clean and get the carcass cooling. A 3 to 4 inch fixed blade does almost the whole job. Speed matters, but not cutting the gut matters more.
This page describes a procedure people follow in the field, so where a fact comes from a wildlife agency or an extension service we say so. Hunting regulations differ in every state and change every year. Read your own regulations before the season, not on the tailgate.
Before you cut
Three things happen before the knife comes out.
Confirm the animal is dead. Approach from behind and above. Watch the chest for movement, and touch an open eye with a long stick from a safe distance before you kneel down. A deer that is not dead will hurt you with its legs.
Tag it. Many states require the tag to be attached before the animal is moved or dressed. This is the first thing every hunter education course teaches and the first thing people skip when they are excited.
Decide about taxidermy now. If you want a shoulder mount, do not cut up past the brisket and do not cut the throat. A cape is ruined by one confident cut in the wrong place and it cannot be undone.
| Item | Why | Essential |
|---|---|---|
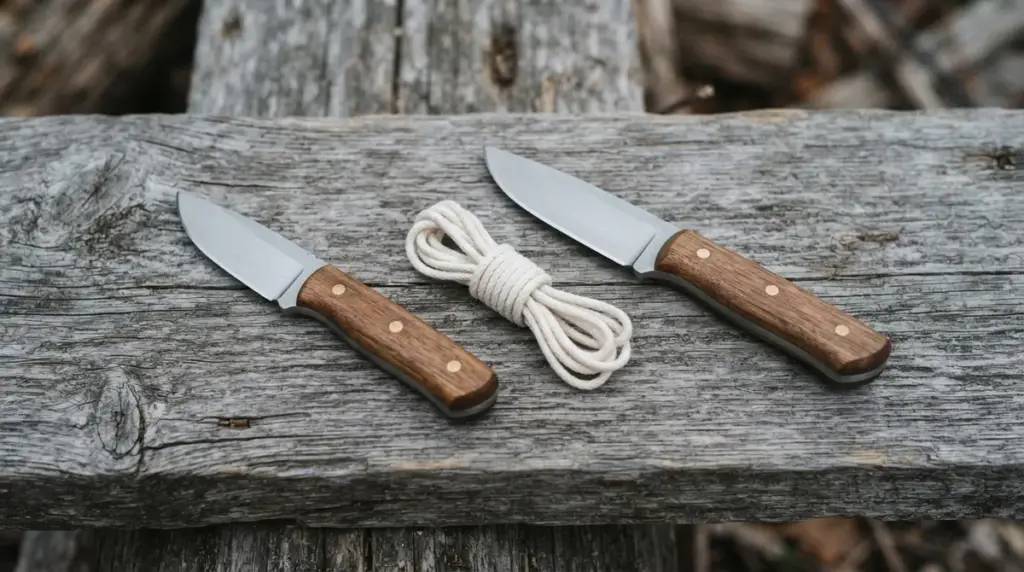
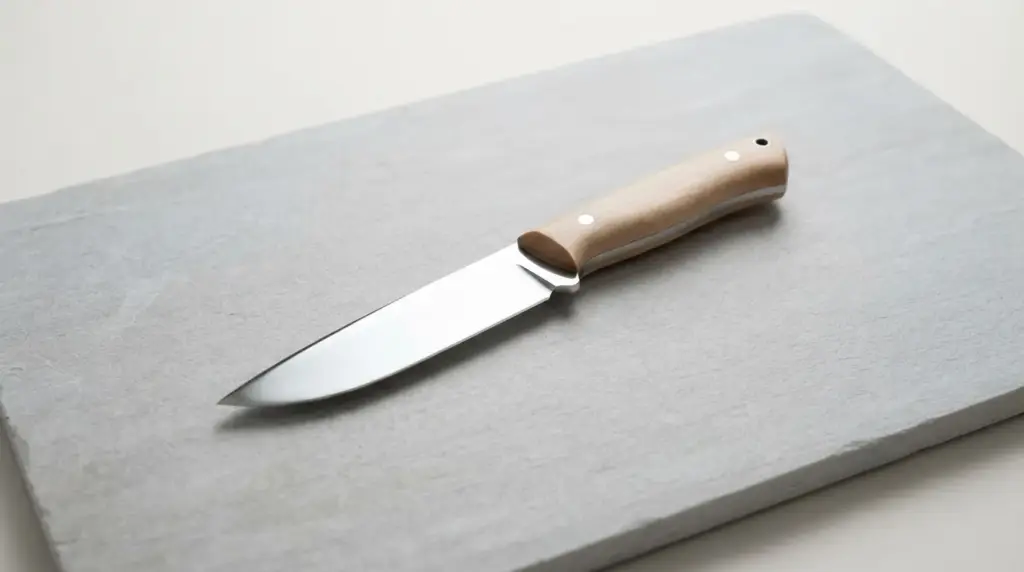
| Fixed blade, 3 to 4 inch drop point | Does most of the job. Short enough to control, long enough to reach | Yes |
| Rubber, latex or nitrile gloves | Published agency guidance for handling any deer. Shoulder length are better | Yes |
| Cord or a heavy zip tie | To tie off the anus so nothing spills into the cavity | Yes |
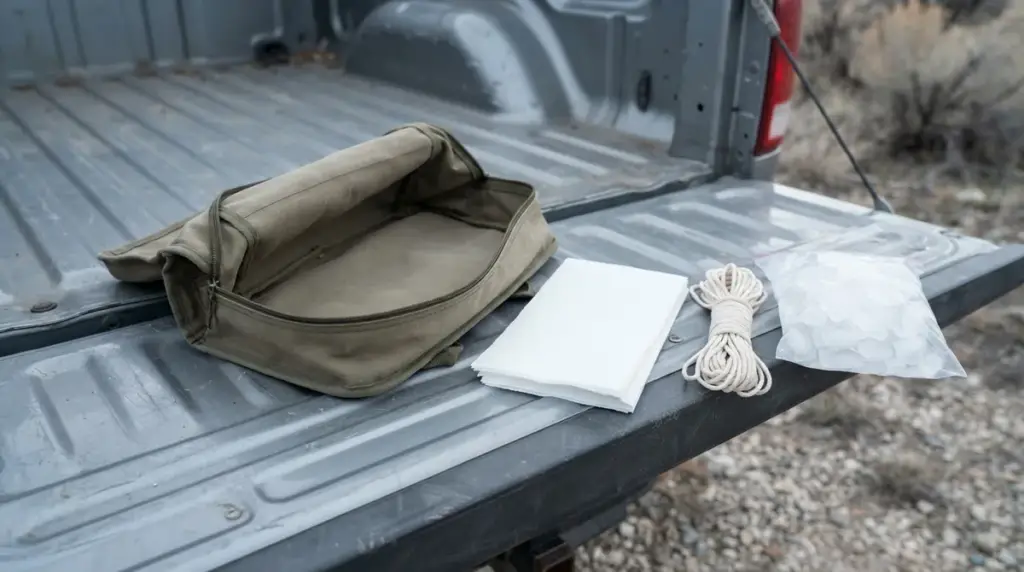
| Clean cloths or paper towels | To wipe the cavity dry after draining | Yes |
| Game bags | Keep flies and dirt off while the carcass cools | Yes |
| Bagged ice | Extension guidance for cooling a carcass in warm weather | In warm weather |
| Second small blade or a gut hook | One specific cut. See the knife section below | No |
| Bone saw | Only for splitting the pelvis or sternum, and see the CWD section first | No |
| Headlamp, water, soap or alcohol wipes | Most deer are dressed in poor light and you will want clean hands afterwards | Yes |
Positioning the animal
Roll the deer onto its back with the head uphill if there is any slope at all. Gravity is the only assistant you have. Spread the hind legs and chock the carcass with two logs or rocks under the shoulders and two under the hips so it does not roll while your hands are inside it.
If you are alone and the ground is flat, straddling the animal facing the head, with your knees against its shoulders, is the stable working position. Get the light where you need it before you start, because you will not want to move a headlamp with wet gloves.
Evidence of sex and the first cuts
Before you remove anything from a buck, check your state regulations. Many states require evidence of sex to remain naturally attached to the carcass until it is processed or checked in, and in those states removing the external genitalia at this point is an offence. Hunter education courses are explicit about this and the rule varies from state to state.
Where the law allows it, the external genitalia are removed with a shallow cut and the belly incision starts from that point. Where it does not, work around them and leave them attached.
The first cut is a skin cut and nothing more. Pinch up a fold of skin at the base of the sternum, make a small opening, then insert the first two fingers of your free hand into the opening in a V shape with the blade riding between them, edge upward. Cut toward the pelvis. Your fingers hold the abdominal wall away from the paunch and the blade rides on the inside of the skin instead of into the intestines. This single technique prevents most gut punctures.
Cut the skin first, then repeat the same fingers on either side of the blade technique to open the thin muscle layer of the abdominal wall underneath. Take your time on the muscle layer. It is thinner than people expect and the paunch is directly behind it.
Ringing the anus and dealing with the bladder
This is the step that decides whether your meat tastes of what you are removing.
Cut a circle in the hide all the way around the anus, about an inch and a half out from it. On a doe, include the vulva in the same circle. Then work the blade inward, freeing the rectum from the surrounding tissue several inches up into the pelvic canal, keeping the point angled toward the centre so you do not cut the wall of the rectum itself.
When it is free, pull it back a little, tie it off tightly with a length of cord or a heavy zip tie, and push the tied end forward into the pelvic cavity. It will come out later with the rest of the entrails and it will not spill.
The bladder sits just forward of the pelvis and is a smooth pale sac. Do not squeeze it, do not cut it, and if it is full, pinch the urethra closed and lift the whole thing out rather than trying to be delicate around it.
You can split the pelvis with a saw to make the lower cavity easier to work in. It is optional, most people manage without it, and the CWD guidance below is a good reason to think twice about sawing bone at all.
The diaphragm, windpipe and chest
The diaphragm is the sheet of thin muscle separating the abdominal cavity from the chest cavity. Working from inside the animal, run the blade along the inside of the rib cage on both sides and cut the diaphragm free where it attaches. You are not cutting through anything thick. Follow the ribs and the tissue parts easily.
With the diaphragm cut, reach up inside the chest as far as your arm goes, find the windpipe and the esophagus, and cut them off as high up the neck as you can reach. Both are tough, and this is the one cut in the whole job where a longer, narrower blade genuinely earns its keep. If you cannot reach, the alternative is to cut through the throat from the outside, which ruins a cape for a shoulder mount, so make the taxidermy decision before this point and not during it.
Some hunters remove the heart and lungs separately here rather than pulling everything at once. Either works. Pulling everything at once is faster and needs a firm grip and a strong back.
Rolling it out and draining
Take hold of the windpipe and esophagus with both hands and pull down and back toward the pelvis. The chest organs, the diaphragm remnant, the stomach and the intestines come as one mass. The tied anus should slip free from the pelvic canal as you go. If it hangs up, free it with the knife rather than pulling harder.
Roll the carcass onto its side to drain the pooled blood, then back onto its back or, better, hang it. Wipe the inside of the cavity out with clean cloths or paper towels. Only rinse with water if something has actually contaminated it, and if you do rinse, dry it afterwards, because standing water in a body cavity keeps the surface warm and wet, which is exactly what you are trying to avoid.
Prop the cavity open with a clean stick so air moves through it, and get the carcass off the ground.
If you cut the gut or the bladder
It happens to everybody eventually and it is recoverable if you act immediately.
Stop and get the spilled material out of the cavity before it soaks in. Wipe with clean cloths, then rinse the contaminated area with clean water. Trim away any meat that has been soaked, especially in the pockets around the pelvis and along the tenderloins, which sit exposed on the inside of the back and take contamination first. Change your gloves. Wipe your blade and rinse it before the next cut so you are not carrying gut contents onto clean meat.
Then get it cold faster than you otherwise would. Contamination plus warmth is the combination that spoils meat. Contamination on a carcass that is already down to 40 degrees Fahrenheit is a trimming problem. Contamination on a carcass at 70 degrees is a race.
Cooling, which decides whether it is food
This is where most venison is lost, and it is the part the knife articles skip entirely.
Penn State Extension puts the threshold at 41 degrees Fahrenheit. Above that, pathogens grow, so once the outside temperature is above 41 degrees the priority becomes active cooling rather than anything else. Their published advice is to remove the hide quickly in warm weather so heat can escape, to pack the internal cavity with bags of ice where possible, and specifically not to wrap the carcass in plastic or a tarp, because wrapping traps heat and holds the meat in the danger zone.
The same guidance gives the processing window: the carcass should be cut within seven days of harvest if it was chilled rapidly, and sooner if warmer temperatures prevail.
| Published figure | Value | Source |
|---|---|---|
| Temperature above which pathogens grow | 41 degrees Fahrenheit | Penn State Extension |
| Window to cut a rapidly chilled carcass | Within seven days, sooner if warm | Penn State Extension |
| Frozen storage, fresh venison | Up to eight months | Penn State Extension |
| Frozen storage, seasoned or cured venison | Up to four months | Penn State Extension |
| Safe internal temperature, whole cuts | 145 degrees Fahrenheit | USDA guidance, cited by extension services |
| Safe internal temperature, ground venison | 160 degrees Fahrenheit | USDA guidance, cited by extension services |
Ground venison needs the higher number because grinding distributes any surface bacteria through the whole batch. That is the reason, and it is worth knowing, because people who cook whole cuts rare and safely then assume a burger is the same thing.
Chronic Wasting Disease: what the agencies publish
We are not going to give you our opinion on CWD. Here is what the agencies and the interagency CWD Alliance publish as recommendations for hunters, so you can weigh it yourself.
Wear latex or rubber gloves when field dressing. Bone out the meat rather than cutting through bone. Do not saw through bone, and avoid cutting through the brain or the spinal cord. Minimise handling of brain and spinal tissues. Avoid consuming the brain, spinal cord, eyes, spleen, tonsils and lymph nodes. Wash hands and instruments thoroughly once field dressing is complete. If you use a commercial processor, ask for your animal to be processed individually rather than batched with others. And avoid consuming meat from any animal that tests positive for the disease.
Two practical consequences follow from that list. The first is that the recommendation not to saw bone conflicts with the traditional habit of splitting the pelvis and the sternum, which is a good reason to learn to do the job without a saw. The second is that instruments means your knife. Wash it properly, and if you dress more than one animal, wash it between them.
Carcass transport rules differ by state and by county, and many states restrict moving certain parts out of a CWD management zone. Check yours before you drive home.
Which knife does which cut
This is the part the hunter education pages leave out and the part most knife brands overstate.
| Step | Blade that suits it | Why |
|---|---|---|
| Ringing the anus | Short drop point, 3 inches, or a small caping blade | Tight, blind work where a long blade is a liability |
| Opening the skin along the belly | Any sharp blade, or a gut hook | The one cut a gut hook is genuinely built for |
| Opening the abdominal wall | Drop point, 3 to 4 inches, fingers guiding | Control matters more than length |
| Cutting the diaphragm | Drop point, 4 inches | Long reach, light cuts along the ribs |
| Windpipe and esophagus | The longest blade you have, narrow | The only step where reach really helps |
| Trimming contamination | Small, very sharp, freshly wiped | Precision, and you do not want to spread it |
Now the inconvenient part. We list 28 gut hook knives from $92 to $179 with a median of $104, and a gut hook does exactly one of the six jobs above. For the other five it is a hook on the spine that catches on things. If you already own a good drop point, a gut hook knife is a convenience, not an upgrade. Our gut hook guide makes the same argument at length.
The second inconvenient point is length. Of the 125 listings in our hunting range that publish a blade length, the median is 5 inches and 51 of them are 6 inches or longer, up to 17 inches. Those are display and bowie proportions. For field dressing you want 3 to 4 inches. Our skinning knives, 22 products from $73 to $316 with a median of $112, sit much closer to the right size than the headline hunting range does.
And a third, which we flag as unverified. A deeply etched Damascus surface is rougher than a plain satin stainless one, so in principle it takes more scrubbing to get properly clean after a job like this. We have not seen a study that measures that difference on knife blades and we are not going to pretend we have. What we will say is that we would take a plain, easily scrubbed blade into a gut cavity before a heavily etched one, and we sell 320 Damascus products.
Questions people ask
How long do I have to field dress a deer?
As soon as practical, and the warmer it is the shorter the window. The purpose is to let the carcass cool, and an undressed deer holds heat in the abdomen. Extension guidance treats 41 degrees Fahrenheit as the temperature above which pathogen growth becomes the governing concern, so in warm weather treat it as urgent rather than as a chore for later.
What size knife do I need to field dress a deer?
A 3 to 4 inch fixed blade with a drop point does almost everything. Longer blades help only when you reach up the chest for the windpipe. Anything over 6 inches gets in your way in the pelvis and around the diaphragm.
Do I need a gut hook?
No. A gut hook makes one cut easier, the long opening of the skin along the belly, and does nothing for the other five steps. The two finger V technique with an ordinary drop point achieves the same result. Buy a gut hook if you like the tool, not because the job requires it.
What happens if I cut the stomach or intestines?
Clear the spilled material out immediately, wipe with clean cloths, rinse the affected area with clean water, and trim any soaked meat, especially around the pelvis and the tenderloins. Change gloves, wipe your blade, and cool the carcass faster than you otherwise would.
Do I have to remove the anus and tie it off?
Yes, and it is worth doing carefully. Ringing the anus, freeing it into the pelvic canal and tying it off with cord or a zip tie is what stops faecal contamination entering the cavity when you pull the entrails out. Hunter education courses teach the same step.
Should I split the pelvis or the sternum?
You can, and it makes the work easier, but published CWD guidance advises against sawing through bone and against cutting the spinal cord. Most people can complete the job without splitting anything, so the safer default is not to.
What are the CWD precautions when field dressing?
Published guidance is: wear rubber or latex gloves, bone out the meat, do not saw bone, avoid cutting the brain or spinal cord, minimise handling of brain and spinal tissue, do not eat brain, spinal cord, eyes, spleen, tonsils or lymph nodes, wash hands and instruments thoroughly, ask for individual processing, and do not eat meat from an animal that tests positive.
Can I wash the body cavity out with water?
Only if something has contaminated it. Water on clean meat leaves the surface wet, and a wet surface stays warm longer and grows bacteria. If you do rinse, dry the cavity afterwards and prop it open so air moves through.
Should I wrap the carcass in a tarp to keep it clean?
No. Extension guidance is explicit that wrapping a carcass in plastic or a tarp traps heat and holds the meat in the danger zone. Use a breathable game bag instead, which keeps flies and dirt off without stopping the carcass cooling.
Is field dressing different for a mount?
Yes, and you decide before you cut. For a shoulder mount, do not cut the throat and do not open the hide up past the brisket. Reach up the chest to cut the windpipe from inside instead. A cape cannot be repaired once it is cut, so if the animal might get mounted, work as though it will be.
More guides. Gut hook knives explained, the skinning knife guide, choosing a hunting knife, how to sharpen a knife, and the gut hook and hunting knife categories.
More from the workshop
Folding Knife Locks: Liner, Frame, Back and Slip Joint
The six folding locks you will actually meet, how each one fails, and a one minute inspection you can run before you buy.
Damascus Pocket Knives: What You Get and What You Give Up
What a Damascus folder is, what 111 of our own listings show, and what it does worse than stainless.
