
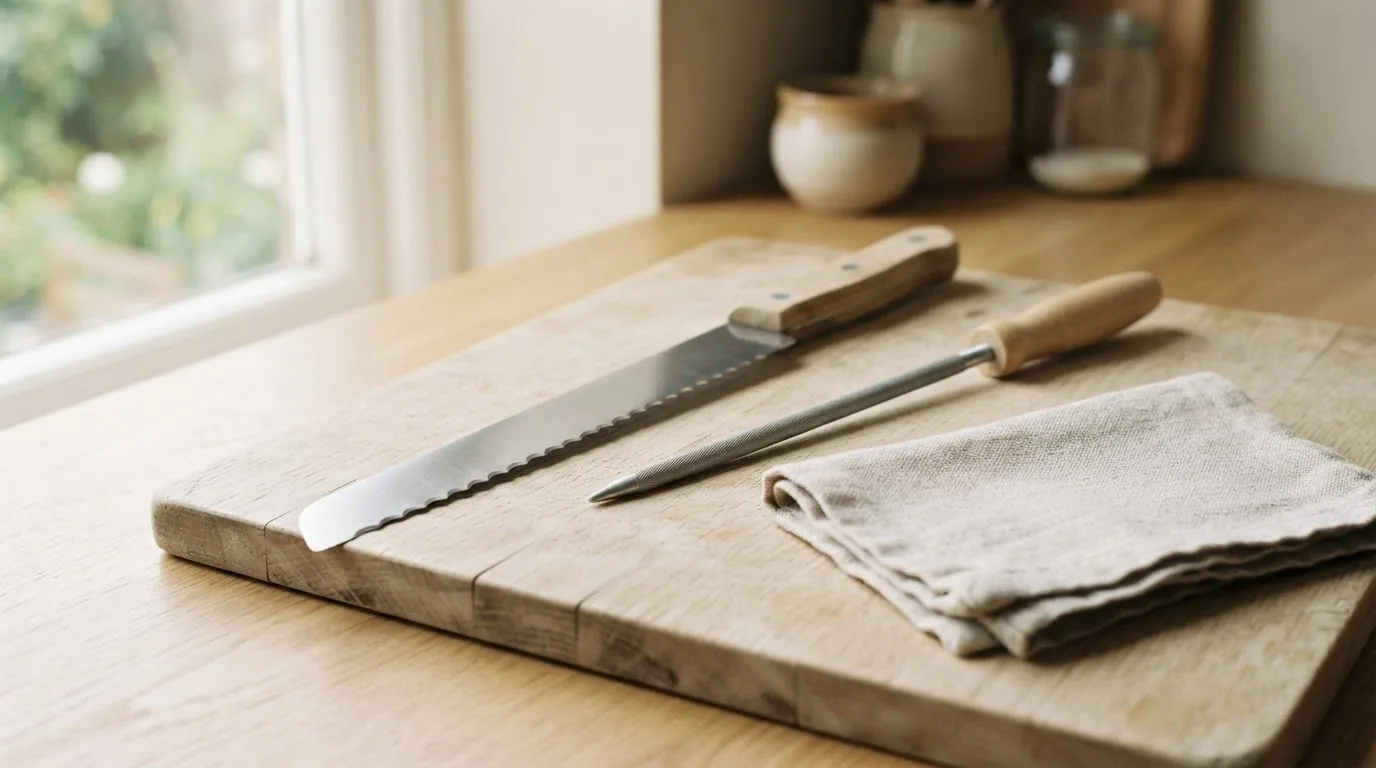
Short answer. A serrated edge is sharpened one scallop at a time, from the bevelled side only, with a tapered round or cone shaped rod that matches the width of the scallop. You work the rod inside each hollow until a burr appears on the flat back of the blade, then remove that burr with two or three very light passes flat against the back. A whetstone will not do this job. Neither will a pull through sharpener, and using one will destroy the serration pattern.
That is the whole method. The rest of this page is why it works, how to avoid the four mistakes that ruin serrated blades permanently, and an honest calculation about which serrated knives are worth sharpening at all. Our general how to sharpen a knife guide covers plain edges on flat stones and deliberately does not cover this, because the geometry is different enough to need its own page.
Why a serrated edge cannot be sharpened like a plain one
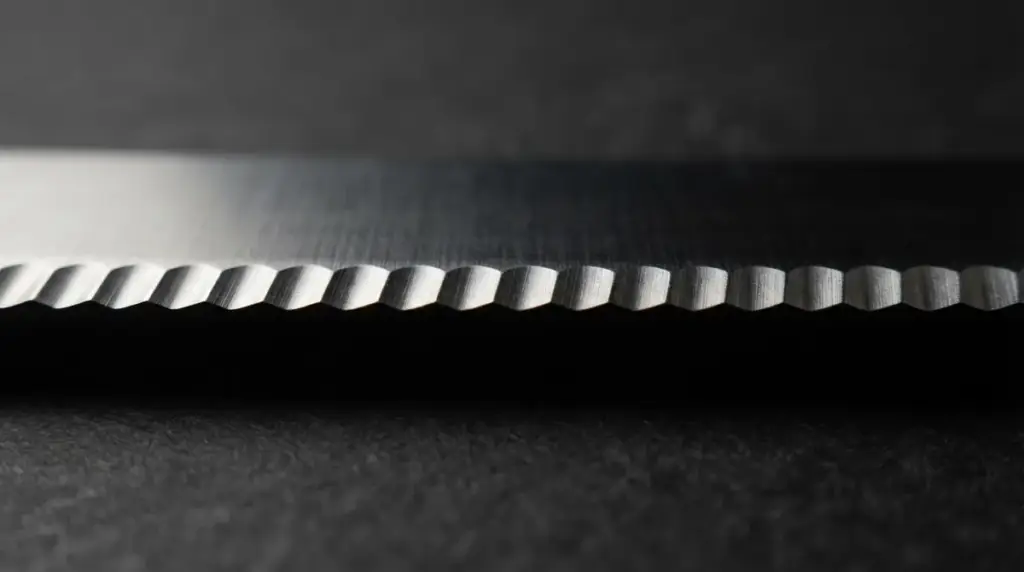
A plain edge is two flat bevels meeting in a line. You can lay it on a stone because the stone and the bevel are both flat. A serrated edge is a row of concave scallops with pointed teeth between them, and almost all of the cutting is done inside the scallops rather than on the points. The points break the surface of what you are cutting. The curved gullets behind them do the slicing.
Put that on a flat stone and the stone only touches the points. You will grind the teeth down flat and leave the gullets exactly as dull as they were. Do it a few times and you have a straight edge with a scalloped decoration on it and no cutting ability at all. This is the single most common way home cooks destroy a bread knife, and it is usually done with good intentions.
The second structural fact is that nearly every serrated production knife is ground with a bevel on one side only and left flat on the other. That is called a chisel grind, and it is used here because it makes the scallops easy to grind in production and it makes the knife self steering through soft crusty material. It also means there is exactly one correct side to sharpen, and if you sharpen the wrong one you flatten the back and lose the geometry that makes the knife work.
What you need, and what will not work
You need a tapered abrasive rod. Tapered is the important word: because the scallops on one knife are usually not all the same width, and because different knives use very different scallop widths, a rod with a constant diameter will fit some hollows and not others. A tapered rod lets you slide it in until it seats and then work at whatever diameter matches.
Three formats work. A round tapered diamond rod, which is the fastest and the most common. A ceramic tapered rod, which is slower and gives a finer finish. A triangular ceramic rod, where you use one corner, which is a decent compromise if you already own one for plain edges. A conical diamond file with a wide taper is the most versatile of all because it covers the largest range of scallop widths.
| Tool | Works on serrations? | Why |
|---|---|---|
| Tapered diamond rod | Yes, best choice | Reaches inside the gullet, cuts hard steel quickly |
| Tapered ceramic rod | Yes | Slower, finer finish, good for maintenance |
| Triangular ceramic rod, corner used | Usually | The corner reaches most medium scallops |
| Round chainsaw file | Sometimes | Fixed diameter, aggressive, only if it happens to fit |
| Flat whetstone | No | Only touches the tooth points, flattens the pattern |
| Diamond plate | No | Same problem as a whetstone |
| Pull through sharpener | No, and it does damage | Drags carbide wheels across the teeth and shears them |
| Electric belt or wheel sharpener | No, with rare exceptions | Removes the pattern unless purpose built for serrations |
| Honing rod | No | Realigns a plain edge, does nothing inside a gullet |
We should say plainly that we do not sell any of these. Black Mamba Knives forges blades. We have no sharpener to sell you and no reason to steer you toward an expensive one, which is why the recommendation on this page is a rod that costs less than a takeaway.
Finding the bevelled side before you touch anything
Hold the knife with the edge facing away from you and look along it under a good light, or run a thumbnail lightly down each face near the edge. One side will have a visible angled facet cut into each scallop. The other will be flat all the way to the edge. The facet side is the side you sharpen. Nothing you do should remove metal from the flat side except the final burr pass.
A minority of serrated knives, mostly kitchen bread knives from European makers and some steak knives, are ground on both sides. If you can see a facet on both faces, work both, but split the strokes evenly so you keep the edge centred. If you are unsure, assume one side, because sharpening one side of a double bevel does far less harm than flattening the back of a chisel grind.
Mark the flat side with a strip of tape the first few times. It sounds fussy. It stops the mistake that cannot be undone.
Matching the rod to the scallop
Slide the rod into the widest scallop on the blade and note where it seats. That is your working diameter for that scallop. Serration patterns commonly alternate between a wide gullet and two or three narrower ones, so you will usually be working at two or three different diameters as you move along the blade. Reseat the rod for every scallop rather than forcing one diameter through all of them.
| Knife type | Typical scallop pattern | Rod approach |
|---|---|---|
| Bread knife | Wide, deep, evenly spaced | Wide part of a tapered rod, or a conical file |
| Steak knife, serrated | Small, shallow, closely spaced | Narrow end of a tapered rod, or a ceramic corner |
| Tactical or rescue folder | Alternating wide and narrow groups | Reseat for each scallop, expect two diameters |
| Partially serrated blade | Serrations near the handle only | Rod for the serrated section, stone for the plain section |
| Wavy or scalloped edge | Broad shallow curves, no sharp teeth | Largest diameter you own, very light pressure |
The stroke, scallop by scallop
Set the rod into the first scallop next to the handle. Tilt it so it matches the existing bevel angle rather than choosing a number. The factory ground that facet at a particular angle and your job is to follow it, not to improve on it. If you cannot see the angle, a marker pen along the bevel and one light pass will show you exactly where you are cutting.
Push the rod away from you along the length of the gullet and lift it off. Do not saw back and forth. On a diamond rod, five to ten strokes on a knife that is merely dull is usually plenty. On a badly neglected knife it might be twenty. Rotate the rod slightly between strokes so you wear it evenly rather than cutting a flat into one side of it.
Move to the next scallop. Repeat. Work in the same direction along the whole blade so you do not lose your place. A twenty scallop bread knife takes about fifteen minutes the first time and half of that once you have done it twice.
Check your progress by looking at the tooth points. They should stay pointed. If the points are getting shorter, your rod is riding too high and you are grinding the teeth instead of the gullets. Drop the rod deeper into the hollow.
The burr, and the one pass on the flat side
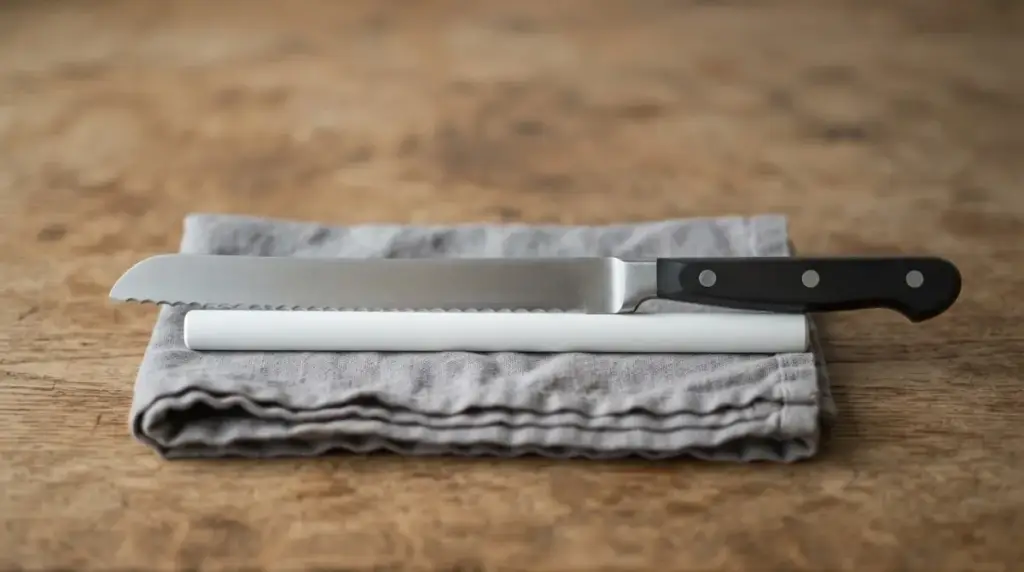
You know a scallop is done when you can feel a fine wire of steel standing proud on the flat back of the blade behind it. Run a fingertip across the back, away from the edge, never along it. That wire is the burr, and it is the same signal a plain edge gives you on a stone. It means you have cut all the way through to the apex.
Once every scallop has raised a burr, lay the blade flat on a fine ceramic rod or a fine stone, back side down, completely flat with no angle at all, and make two or three very light trailing passes. That is all. You are knocking the wire off, not sharpening. Any angle you introduce here starts a second bevel on the flat side and you will spend the next three sharpenings undoing it.
A leather strop with a fine compound does the same job more gently and is the better choice if you have one. Lay the back flat on the leather and pull the blade backward two or three times.
Pointed, scalloped and wavy: how the type changes the job
Pointed serrations, the kind with distinct triangular teeth between deep gullets, are the standard on bread knives and most tactical folders. They are the easiest to sharpen because the gullets are deep and the rod seats obviously.
Scalloped edges, sometimes called wavy, have shallow broad curves and no real points. They are common on tomato knives and cheap utility knives. They are harder to sharpen because there is less depth for the rod to seat in and it is very easy to flatten the curve. Use the widest rod you have and the lightest pressure you can manage.
Reverse or offset patterns, where the serrations are set at an angle to the edge rather than square to it, need the rod held at that same offset. Follow the existing grind. That instruction covers every variant pattern any manufacturer will ever invent, which is why it is better advice than a list of brand specific angles.
Sharpen it or replace it: the honest calculation
This is where we part company with the sharpener manufacturers who own this search result. Not every serrated knife is worth sharpening, and pretending otherwise wastes your Saturday.
| Knife | Rough replacement cost | Time to sharpen properly | Verdict |
|---|---|---|---|
| Supermarket bread knife, stamped | Low, often under $15 | 15 to 20 minutes | Replace. The steel is soft and it will dull again quickly |
| Serrated steak knife, budget set of six | Low per knife | 10 minutes each, six times | Replace the set, and consider straight edge next time |
| Quality forged bread knife | Substantial | 15 to 20 minutes | Sharpen. It will hold the new edge for years |
| Serrated folder or rescue knife | Moderate to high | 10 to 15 minutes | Sharpen. Replacement is expensive and the steel is good |
| Partially serrated EDC blade | Moderate | 20 minutes for both sections | Sharpen, but ask whether you wanted serrations at all |
The inconvenient part for us: our own steak knives are straight edged, and one honest reason to sharpen a serrated set rather than replace it is that a set of six of ours would cost considerably more than the set you already own. Our 15 published steak knives run from $102 to $164 with a median of $126, which is a real forged knife at a real forged price and is not a rational upgrade path from a $40 serrated set unless you actually want a forged knife. If the current set cuts steak, keep it.
Four mistakes that cannot be undone
Running the blade through a pull through sharpener. The carbide or ceramic wheels are set for a plain V edge. Dragging a serrated blade through shears the tooth tips off and leaves gouges in the gullets. There is no recovery except regrinding the whole edge plain.
Sharpening the flat side. Every pass on the back at an angle builds a second bevel where there should be none. The knife starts wandering in the cut and the scallops lose their depth. Recovery means grinding the bevelled side back until the edge is centred again, which costs blade width.
Using a flat stone on the whole edge. It shortens the teeth without touching the gullets. Two or three sessions of this and the pattern is decorative only.
Too much pressure with a diamond rod. Diamond cuts fast. On a thin steak knife serration you can remove a visible amount of steel in a few seconds of hard pressure. Let the abrasive do the work and keep the pressure light enough that you could hold a conversation while doing it.
When to stop resharpening and change the edge
A serrated edge has a finite number of resharpenings in it. Every session takes metal out of the gullets, so the scallops get deeper and the teeth get relatively taller and thinner. Eventually the teeth become fragile enough to break off in normal use, and at that point the knife is done as a serrated blade.
There is one more option nobody mentions: you can convert it. Grinding a worn serrated blade back to a plain edge is a legitimate repair, and on a good quality knife it is often the right one. It costs blade height and it needs a grinder or a lot of patience with a coarse stone, but the result is a usable plain edge knife instead of a shelf ornament. If your serrated knife is on its fifth sharpening and the teeth are getting delicate, that is the moment to think about it.
And if you are choosing a new knife rather than saving an old one, consider whether you wanted serrations in the first place. A serrated edge is genuinely better at crusty bread, tomato skin, rope and seatbelt webbing. For everything else a straight edge cuts more cleanly, sharpens in a tenth of the time, and can be maintained forever. Most people who buy serrated general purpose knives would have been happier without.
Questions people ask
Can you sharpen a serrated knife at home?
Yes. You need one tapered abrasive rod and about fifteen minutes. The technique is easier than freehand sharpening a plain edge because the scallop holds the rod in position for you, which removes the angle control problem entirely.
Which side of a serrated knife do you sharpen?
The bevelled side, which on most serrated knives is one side only. Look along the edge for the angled facet cut into each scallop. The flat side gets nothing except two or three light flat passes at the end to remove the burr.
Can I use a whetstone on a serrated knife?
No. A flat stone only reaches the tooth points and cannot get inside the gullets where the cutting happens. Using one flattens the teeth and leaves the knife duller than before. Use a tapered rod.
Will a pull through sharpener work on serrations?
No, and it will cause damage that cannot be reversed. The wheels are set for a plain V shaped edge and will shear the tooth tips. Keep serrated blades away from them entirely.
What angle should I sharpen serrations at?
Match whatever angle the factory ground into the facet rather than picking a number. Colour the bevel with a marker, make one light pass, and see where the ink came off. If ink remains at the apex, raise the rod slightly. If it remains at the shoulder, lower it.
How often does a serrated knife need sharpening?
Far less often than a plain edge. The tooth points protect the gullets from contact with the cutting board, so most of the edge never touches anything hard. A home bread knife often goes years. When it starts tearing rather than slicing, it is time.
How do I know when a scallop is sharp enough?
A fine wire of steel, the burr, will stand up on the flat back of the blade behind that scallop. Feel for it by running a fingertip across the back away from the edge. No burr means you have not reached the apex yet.
Is it worth sharpening a cheap bread knife?
Usually not. A stamped supermarket bread knife takes fifteen to twenty minutes to sharpen properly and the steel is soft enough that it will dull again within months. That is a poor trade against its replacement cost. A good forged bread knife is a completely different calculation and is worth the time.
Can a serrated knife be converted to a plain edge?
Yes, by grinding the serrations away entirely and putting a normal bevel on. It costs blade height and it is easiest with a belt grinder. On a worn serrated knife with a good steel and a good handle, it is often a better outcome than another resharpening.
Do you sharpen serrated blades yourself?
Our own kitchen and steak knives are straight edged, so the honest answer is that we forge and grind plain edges rather than serrated ones. The method on this page is standard serrated maintenance and applies to any serrated knife regardless of who made it.
More guides
For plain edges on a stone, start with how to sharpen a knife. To understand what the rod at the back of your drawer is actually for, read honing versus sharpening. If you are deciding what equipment to buy rather than how to use it, knife sharpening systems compared grades every option by cost and by how much steel it removes. Our steak knife guide makes the case for straight edges over serrated at the table, and the steak knives category is where ours are.
More from the workshop
Engraving a Knife: What Works and What Ruins the Blade
What engraving costs, what fits in 20 characters, and why the handle beats the blade.
Flying With a Knife
What TSA actually allows, how to pack a knife in the hold, and where the rules change once you land abroad.
