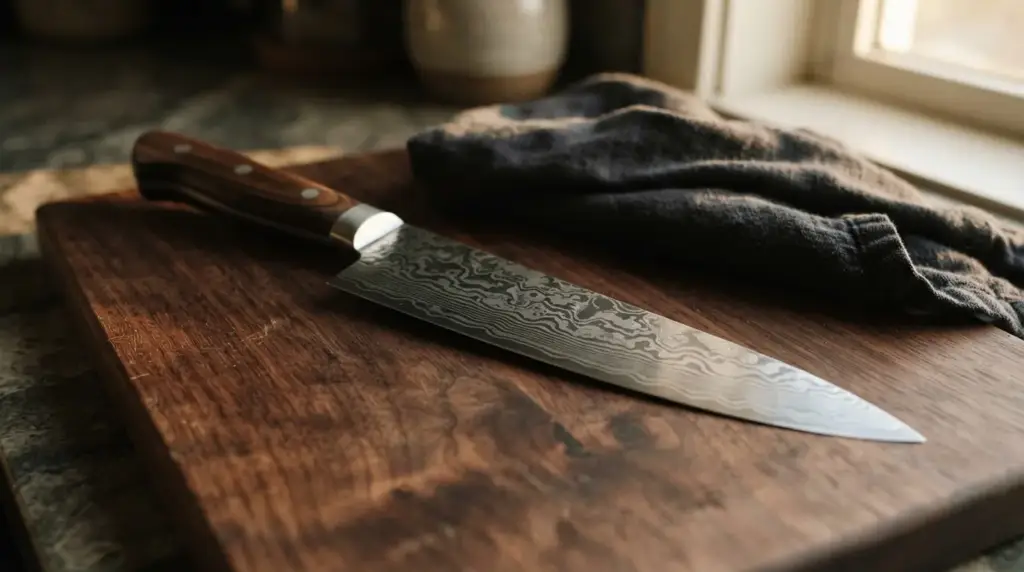
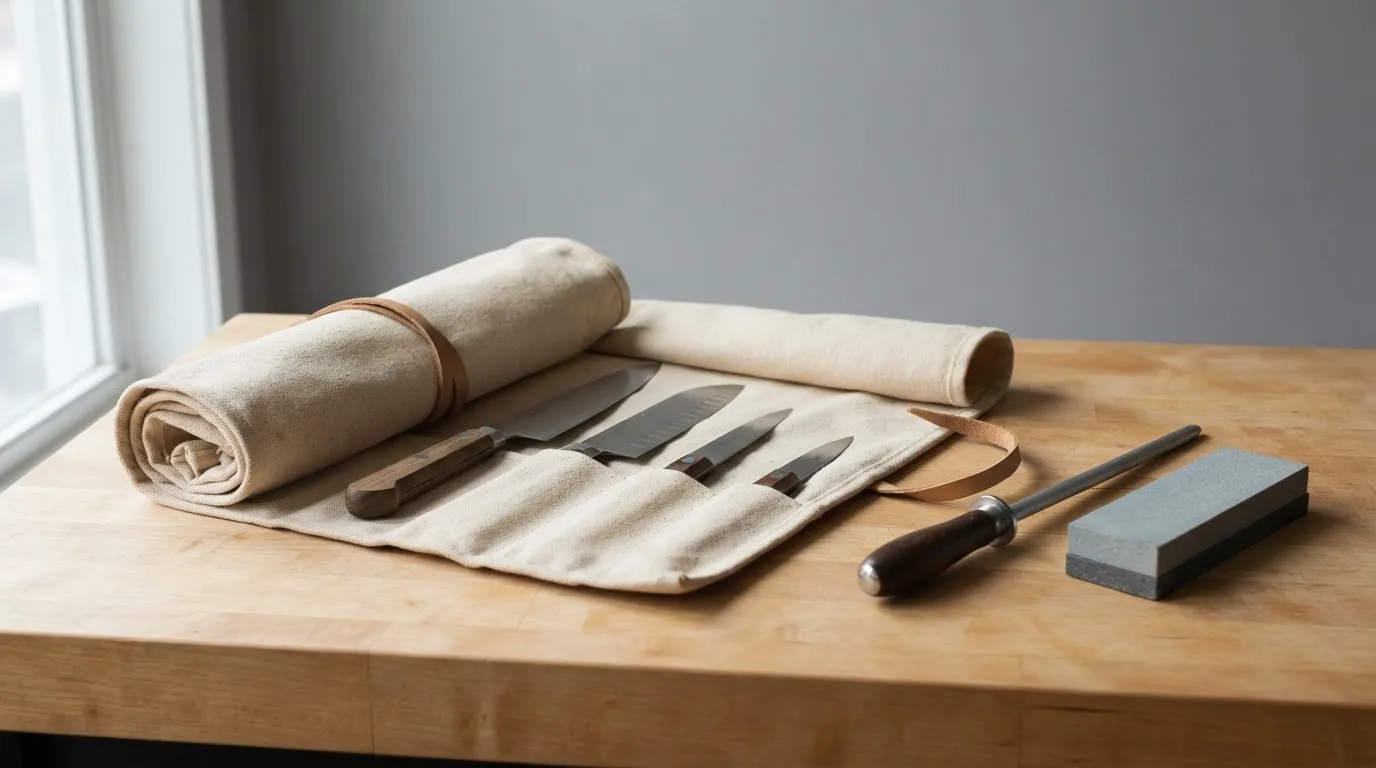
Short answer. Once the animal is hanging in your garage or laid out on your bench, four knives do essentially all of the work: a long breaking knife to separate primals, a stiff boning knife to take meat off bone, a flexible boning or trimming knife for silverskin and fat, and a heavy cleaver only where you genuinely have to go through bone. A honing steel matters more than a fifth knife. The awkward part for us is that we do not make a boning knife or a breaking knife at all, so on the two knives you will use most we are telling you to buy elsewhere.
What this guide is not
This is about what happens after the animal is home. Field dressing, the gutting and cooling that happens where the animal fell, is a separate job with a separate knife and we cover it separately. Skinning is also its own subject and we have a guide dedicated to the shape and length of a skinner.
What follows starts at the point where you have a carcass or quarters, a clean surface, a cold room or a cold garage, and several hours in front of you.
The workflow, in the order it actually happens
Home processing runs in a fixed sequence and the knives change as you go down it. Skipping ahead is where people make work for themselves.
Hang and chill. Meat cuts badly when it is warm and soft and cuts beautifully when it is cold and firm. Getting the carcass down to refrigerator temperature before you start is the single largest improvement available to a beginner, and it costs nothing but patience. We are a knife shop and not a food safety authority, so confirm holding times and temperatures with your local food safety guidance rather than with us.
Quarter and break. The carcass comes apart at the natural seams into primals. This is long knife work: long strokes, following the seam, letting the blade do the separating rather than sawing.
Bone out. Each primal gets the bone taken out. This is short knife work: the tip does most of it, the blade follows the bone, and your other hand is doing as much as the knife is.
Trim. Silverskin, sinew, gristle and excess fat come off. This is the longest and least glamorous stage and it is where a dull knife punishes you hardest.
Portion. Steaks, roasts and chops get cut to size. Long clean strokes again.
Grind and pack. Everything left goes through the grinder. Meat for grinding wants to be very cold, close to firm, or it smears instead of cutting.
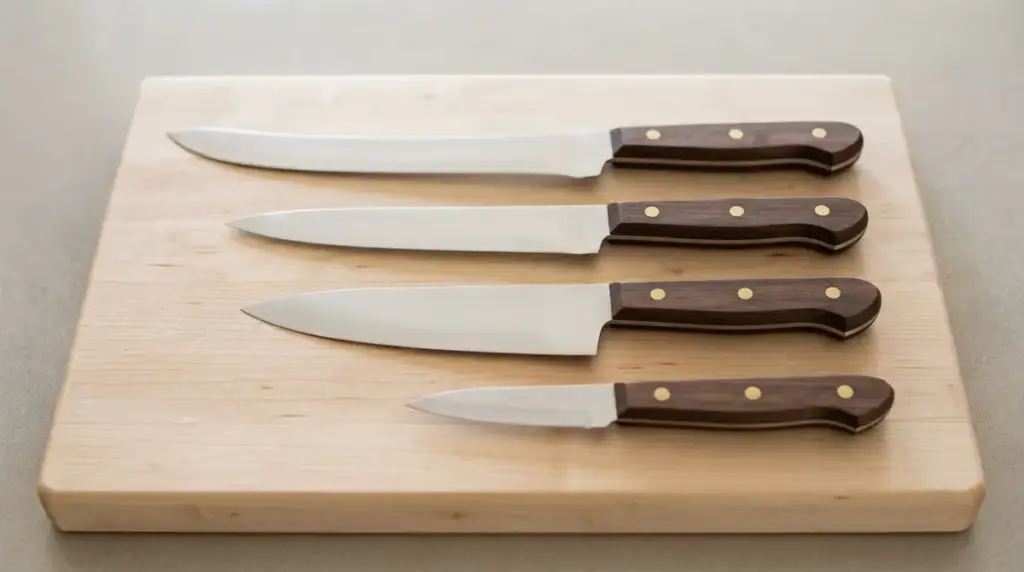
The four knives that do the work
| Knife | Typical blade length | Flex | Stage it belongs to | Do we sell one |
|---|---|---|---|---|
| Breaking knife or cimeter | About 10 to 14 inches, curved | Stiff | Quartering and breaking primals, fat cap removal | No |
| Stiff boning knife | About 5 to 7 inches | Rigid | Taking meat off bone, separating joints | No |
| Flexible boning or trimming knife | About 6 to 7 inches | High flex | Silverskin, fat, following curved bone, poultry | No |
| Cleaver | About 6 to 12 inches in our range | Rigid and heavy | Cartilage, joints, and bone only where necessary | Yes, 16 published |
| Honing steel | About 10 to 12 inches | Not applicable | Every stage, every few minutes | No |
| Skinner | About 3 to 5 inches, swept belly | Slight | Hide removal, before any of the above | Yes, 22 published |
The breaking knife and the two boning knives are the ones your hand will be on for most of the session. Notice which column says no.
Where our catalogue helps and where it does not
Here is the inconvenient part, stated plainly, with our own numbers.
We have zero published products with boning, butcher, breaking, cimeter or carving in the name. Not few. Zero. What we do have is a cleaver category of 16 products, blade lengths from 6 to 12 inches with a median of 7, priced from 123 dollars with a median of 164. We have 22 skinning knives, priced from 73 dollars with a median of 109. We have 28 gut hook knives at a median of 104 dollars. And we have 32 cowboy bull cutters, which people often assume are butchering knives and are not: their blade lengths run 3 to 7 inches with a median of 3.5, which makes them trimming and general ranch knives, not breaking knives.
| Our category | Published | Blade length range | Price low | Median | Role in home processing |
|---|---|---|---|---|---|
| Damascus cleaver | 16 | 6 to 12 inches | 123 dollars | 164 dollars | Genuinely useful, sparingly |
| Damascus skinning knives | 22 | Short, swept | 73 dollars | 109 dollars | Before processing starts |
| Gut hook knives | 28 | Short | 92 dollars | 104 dollars | Field work, not bench work |
| Cowboy bull cutters | 32 | 3 to 7 inches, median 3.5 | 73 dollars | 93 dollars | Trimming, not breaking |
| Kitchen knives | 42 | Varies | 90 dollars | 142 dollars | Portioning and final prep |
| Boning and breaking knives | 0 | Not applicable | Not applicable | Not applicable | Buy these somewhere else |
So the honest advice is a split kit. Buy a plain commodity boning knife and a plain commodity breaking knife from a restaurant supply house, in a soft stainless with a moulded plastic handle, for very little money. They will be flexible where they need to be, they will go in a dishwasher, and you will not care when you eventually damage one. Then spend money where it shows: a good cleaver, a good skinner, and a good knife for the kitchen once the meat is in the freezer.
Flex, and why we cannot solve the boning problem
A boning knife works by staying in contact with bone as the bone curves. A flexible blade bends around a rib and stays cutting. A rigid one lifts off and leaves meat behind, or you push harder and it skates.
Flex is a function of blade thickness, blade width, geometry and hardness. A thin blade at moderate hardness flexes and springs back. A hard blade at 58 to 60 HRC, which is where our Damascus sits, does not want to flex; it wants to hold an edge and it will take a set or crack rather than bend a long way and return.
That hardness is the right choice for what we build. It is the wrong choice for a flexible boning blade, and grinding a Damascus billet thin enough to flex would give you an expensive knife with a pattern on it that is more fragile than a fifteen dollar stainless one. We would rather say that than sell you one.
Stiff boning is a different story: a stiff boning knife is genuinely close to what a good hunting fixed blade already does, and a four to five inch drop point from our hunting range will get you through boning out a deer even though it is not the ideal shape. It will not get you through silverskin trimming, which needs flex you cannot substitute for.
The cleaver, and when not to reach for it
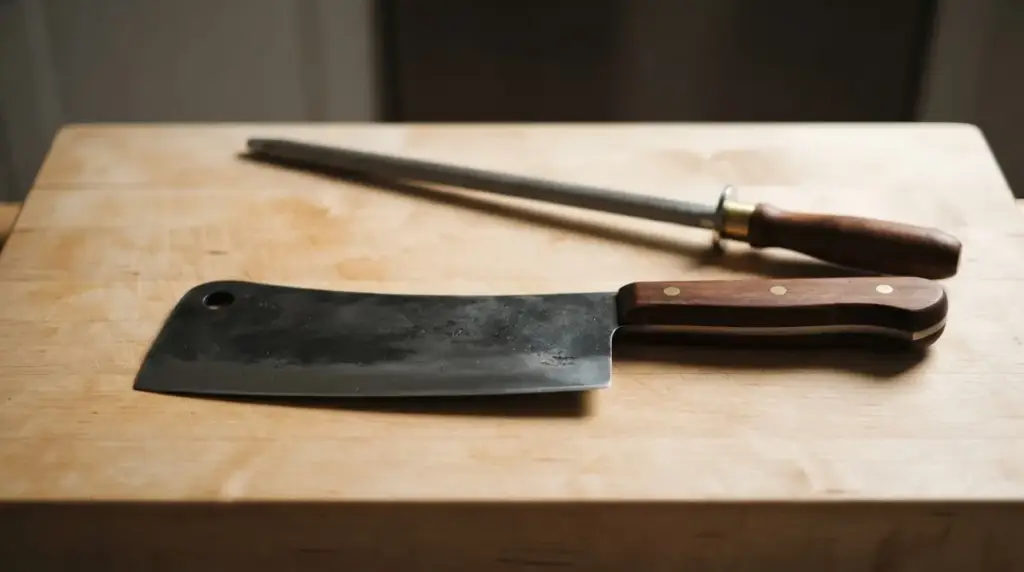
The cleaver is the knife people most often use wrongly. There are two very different tools sharing the name. A Chinese vegetable cleaver is thin, light and ground at a fine angle, and hitting bone with it will chip the edge immediately. A bone cleaver is thick at the spine, heavy, and ground obtusely so the edge survives impact.
Our Damascus cleavers are patterned and hardened, and a patterned blade taking repeated impact is a bad idea for the same reason a patterned axe bit is a bad idea: the etch is a relief surface and impact damage shows on it permanently. Use a cleaver for cartilage and joints, use it with a clean single stroke rather than repeated chopping at the same spot, and if you need to go through a heavy leg bone, use a bone saw. A saw is cheap, it is the correct tool, and it does not send bone chips into your meat the way a cleaver can.
Temperature is the variable nobody talks about
Most guides on this topic discuss knives and never mention the state of the meat, which is strange, because meat temperature changes cutting more than any knife choice does.
| State of the meat | How it cuts | What to do |
|---|---|---|
| Warm and soft | Tears, drags, hard to keep a clean line | Chill it before starting. This is the fix for most beginner frustration |
| Cold and firm | Cuts cleanly, seams separate readily, trimming is fast | This is the target state for breaking, boning and portioning |
| Partly frozen at the edges | Excellent for grinding and for thin slicing | Ideal just before the grinder |
| Fully frozen | Does not cut. Damages edges | Never cut into it. Thaw to firm first |
| Fat at room temperature | Smears and clogs the blade and the grinder plate | Keep fat cold. It is the first thing to warm up |
The practical version: work in a cold room, take one primal out at a time, and put the rest back. A long session in a warm garage costs you far more in cutting quality than the difference between a good knife and an average one.
Keeping an edge through a long session
You will not sharpen during a session. You will hone. The distinction matters: honing straightens an edge that has rolled over, sharpening removes steel to make a new edge, and during processing you want the first and not the second.
Steel the blade briefly and often, not heavily and rarely. A few passes every ten to twenty minutes keeps the edge where it started. Once an edge has actually dulled rather than rolled, no amount of steeling brings it back, and you should swap to a second knife and finish the session rather than trying to sharpen with greasy hands over a bench full of meat.
That is the real argument for owning two boning knives instead of one very good one. Rotation beats sharpening, and it is another reason a cheap pair makes more sense here than a single expensive blade.
Carbon steel, including our Damascus, will discolour on contact with meat and will rust if left wet. Wipe it down as you go, wash and dry it fully at the end, and put oil on it before it goes away. A stainless commodity boning knife will not care, which is one more point in its favour for this specific job.
Boards, order of work and cleaning up
Use wood or high density polyethylene. Glass, stone and marble destroy edges and there is no argument to be had about it. A board that is too small is the second most common cause of accidents after a dull knife, because you end up cutting at the edge of the surface with the meat unsupported.
Work in one direction: raw stays with raw, and nothing that has touched the carcass touches anything you plan to eat without cooking. Wash boards and knives between primals rather than at the end, because dried protein is far harder to remove than fresh.
Hand wash the knives, dry them immediately, and keep them out of the dishwasher if they have wooden handles or carbon steel blades. This is also where a folding knife shows why it has no place in this work: there is no way to clean inside a pivot, and you cannot inspect what you cannot open.
Grinding, and what to do with the last hour
The last stage is the one people run out of energy for. Trim, grind, and pack while you are still paying attention, because a tired person with a sharp knife and a full bench is exactly the profile of a bad cut.
Trim silverskin off before grinding, not after. Silverskin does not break down, it wraps around a grinder auger, and it is unpleasant to eat. Keep everything cold, run the grinder in short batches, and clear the plate when the output starts to look smeared rather than cut.
Pack in the portion size you will actually cook. Two pound packages that get thawed and half used are a false economy, and freezer burn does more to ruin home processed meat than anything that happens on the bench.
What a sensible setup costs
A workable home processing kit is a breaking knife, a stiff boning knife, a flexible boning knife, a honing steel, a bone saw, a big board, and a cleaver if your work involves joints. The first five of those are commodity purchases and should be inexpensive.
The two places where spending is defensible are a cleaver you will keep for decades, which in our range starts at 123 dollars with a median of 164, and a skinner if you take your own animals, which starts at 73 dollars with a median of 109. Everything else on the list is a consumable in disguise. Spend accordingly.
Questions people ask
What knives do I actually need to butcher at home?
Four: a long breaking knife, a stiff boning knife, a flexible boning or trimming knife, and a cleaver for cartilage and joints. Add a honing steel and a bone saw and that is the complete list.
Can I do it all with one knife?
You can get through it with a stiff four to five inch drop point, and you will be slower and the trimming will be poor. The single knife that gets you furthest is a stiff boning knife, not a big one.
Do you sell a boning knife?
No. We have zero published products with boning, butcher, breaking or carving in the name. A boning knife needs flex, and flex is the opposite of what a hardened Damascus blade at 58 to 60 HRC does. Buy a plain stainless one from a restaurant supply house and spend your money on knives where the material shows.
Is a Damascus cleaver safe to use on bone?
On cartilage and small joints, yes, with single clean strokes. On heavy leg bone, use a bone saw instead. A patterned blade takes impact damage visibly and permanently, and a saw does the job better anyway.
Why does my knife drag through the meat?
Usually the meat is too warm, not that the knife is too dull. Chill the carcass to refrigerator temperature and firm meat before you start and most of that problem disappears.
Should I sharpen during a session?
No. Hone briefly and often with a steel to keep the edge straight. If an edge has genuinely dulled, swap to a second knife and sharpen everything properly afterwards.
What cutting board should I use?
Wood or high density polyethylene, and larger than you think you need. Glass and stone ruin edges, and a small board makes you cut at the unsupported edge of the surface, which is how people get hurt.
Can I use a folding knife for processing?
You should not. The pivot cavity holds blood, fat and moisture, it cannot be inspected without stripping the knife, and it cannot be properly sanitised. Fixed blades only for this work.
How is this different from field dressing?
Field dressing happens where the animal fell and is about opening the body cavity and getting the carcass cooling. Everything on this page happens later, on a bench, with the carcass chilled. Different job, different knife, different guide.
Does a Damascus pattern help on a butchering knife?
No. The pattern is cosmetic. What decides how a butchering knife performs is geometry, flex and heat treatment, and none of those are visible in the pattern. Buy the pattern because you like it, not because you expect it to cut better.
More guides. For the flex question in detail, read boning knife versus fillet knife. Before any of this, see the skinning knife guide and our gut hook knife guide. On cleavers, read the cleaver knife guide or browse our Damascus cleavers. For keeping edges through a session, see honing versus sharpening.
More from the workshop
Knife vs Dagger: What Is the Difference?
Every dagger is a knife, not every knife is a dagger. One edge or two changes everything, including what you can legally carry.
Hand-Forged vs Factory Made Knives
What the extra money buys, and when the factory knife is the smarter purchase.